
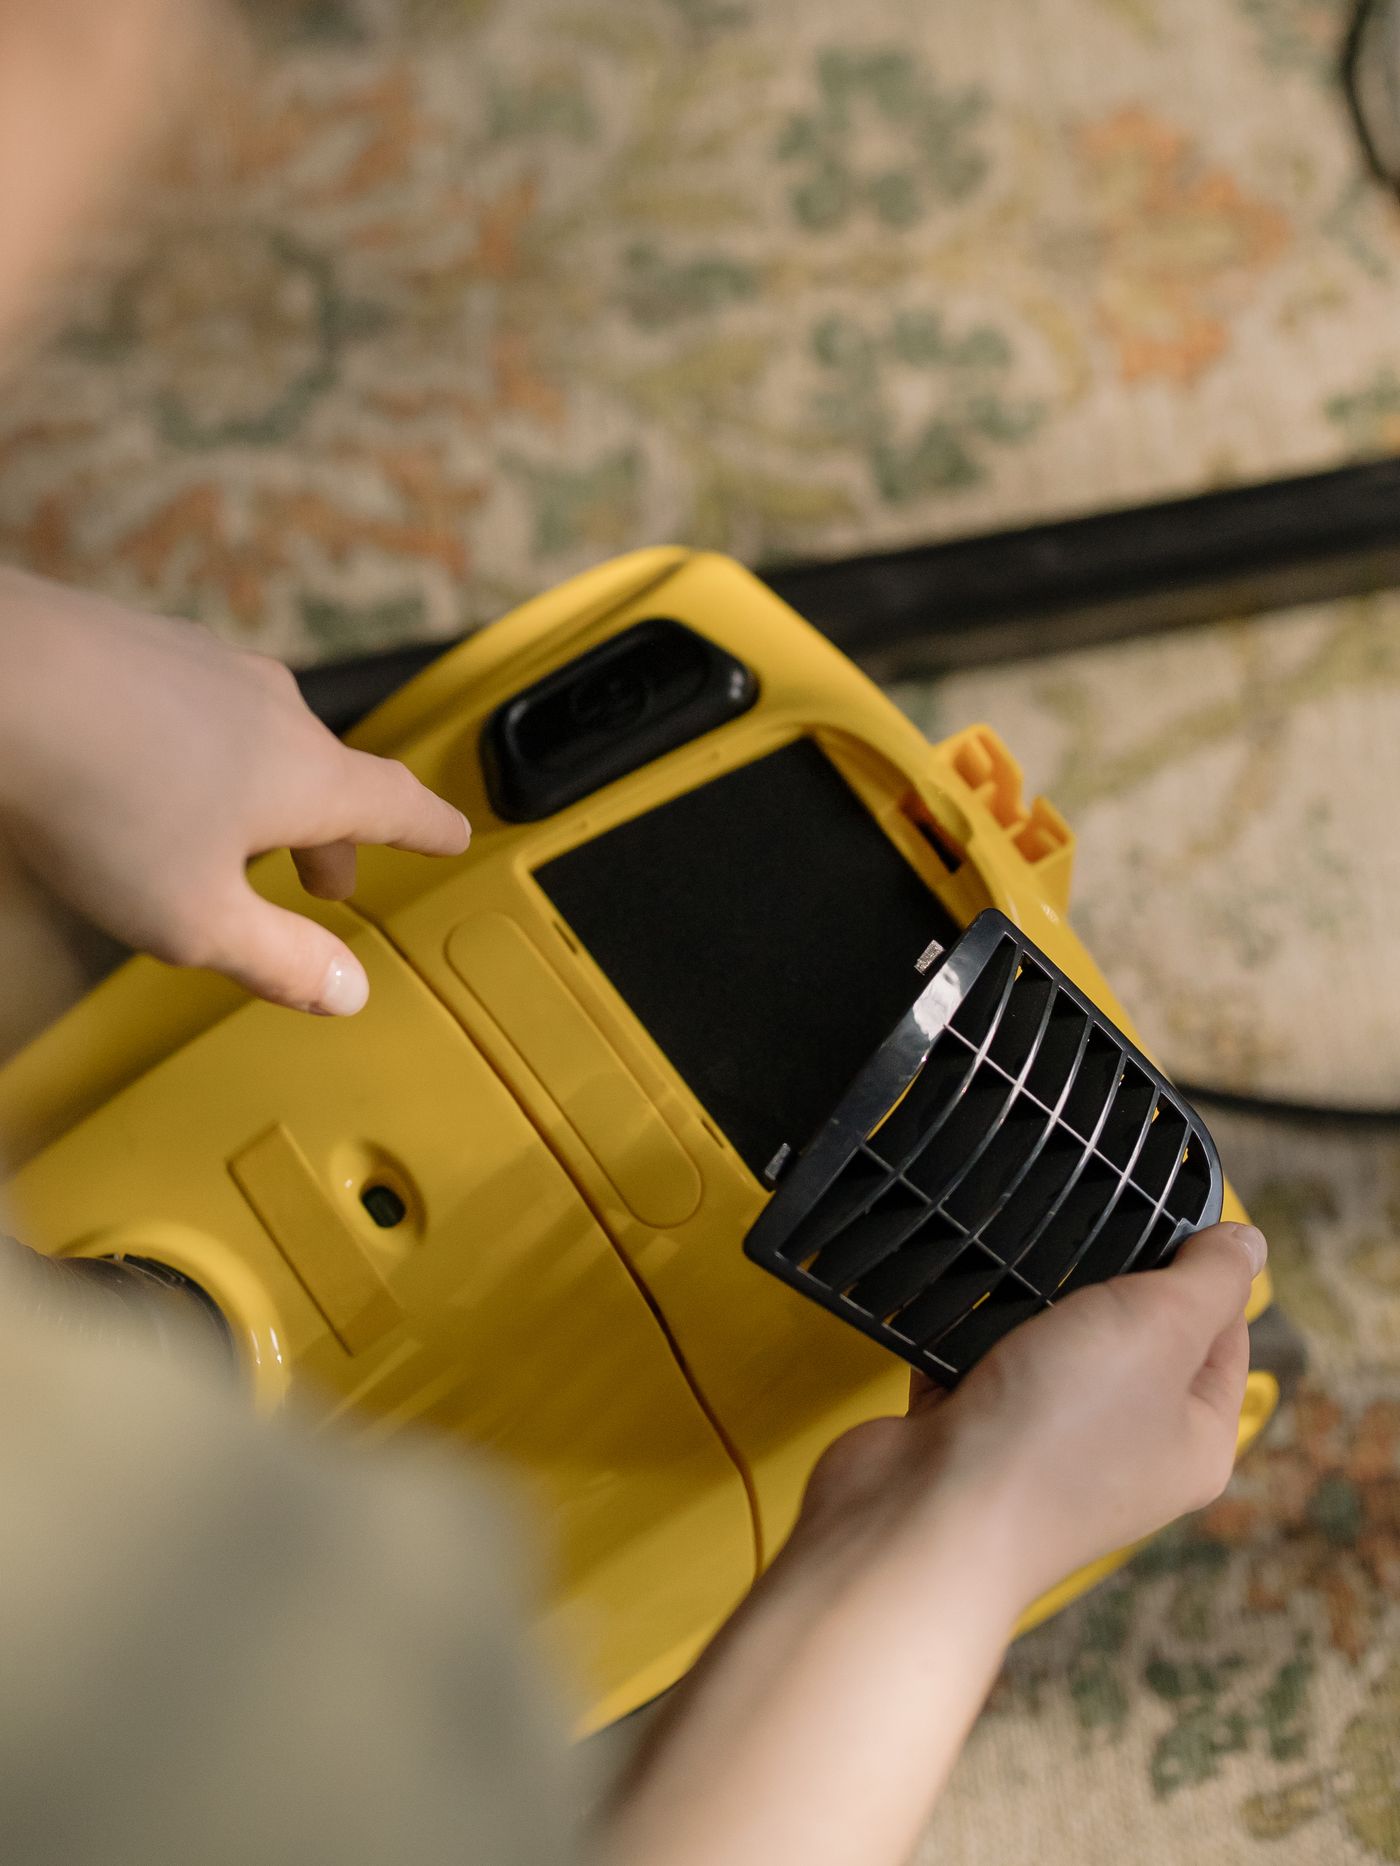
Identify the exact vacuum model and filter before cleaning: some filters can be rinsed, while others must stay dry or be replaced. Use the manufacturer’s method for that filter, let any washed part dry completely for the specified time, and refit it correctly before running the vacuum.
Cleaning a filter is free, but replacing filters, parts or the vacuum gets pricier when manufacturer prices rise. A regular cleaning schedule, like the one in this guide, is the cheapest way to put that off. Our forecast below shows the odds vacuum prices are up 3% or more by December.
Master Vacuum Filter Maintenance in 7 Simple Steps
Use this sequence for a household vacuum, then follow the manual’s details for each filter. It is not a universal wash procedure. Keep the model number and filter part number nearby, along with a bin for loose debris and a clean place to dry any washable components.
1 Switch off and disconnect power
Unplug a corded vacuum. For a cordless or robot model, switch it off, disconnect it from charging and follow the manual’s battery or power-isolation instructions. Let the machine cool if needed before maintenance.
2 Identify every filter and its instructions
Find the pre-motor and post-motor filters in the manual, including any combined cartridge. Confirm which can be washed and which must be cleaned dry or replaced. A plastic frame, pleated appearance or HEPA label does not answer that question.
3 Remove the filter and loose debris
Empty the bin or service the bag as instructed, then remove the filter without tearing its seal. Use gentle tapping only where the manufacturer permits it. Keep dust close to the waste container; do not assume a stiff brush, another vacuum or compressed air is safe for delicate filter material.
4 Clean using the permitted method
For a washable filter, follow the specified water temperature, rinsing method and cleaner restrictions. Do not automatically soak it or add vinegar, bleach, fragrance or dish soap. BISSELL permits mild dish soap for the filters on certain CleanView Swivel models, while Dyson gives different instructions for its filters. For a non-washable filter, use only the permitted dry method or replace it. BISSELL model-specific guidance; Dyson filter care.
5 Dry washed parts completely
Use the manual’s minimum drying time and confirm that the filter is completely dry before refitting. Drying conditions can make it take longer. There is no universal 24-hour rule for every model, and an elapsed timer does not prove that a thick filter is dry. Do not use a dryer, microwave or other heat shortcut unless the manufacturer explicitly allows the method.
6 Inspect and reinstall
Check for tears, crumbling foam, damaged seals and a distorted frame. Replace damaged components with the specified compatible part. Refit all filters in the right order and orientation, then close the cover fully. Do not run the vacuum with a required filter missing.
7 Test and record the maintenance
Reassemble the vacuum and test it as the manual directs. If suction remains poor, switch it off and follow the troubleshooting checks below. Record the cleaning date and the manufacturer’s next inspection or replacement interval; heavier dust exposure may call for more frequent attention.
Why Vacuum Filters Lose Efficiency and Lose Suction
Dust accumulation can restrict airflow through a filter. A full bin, clogged hose, obstructed brush or poorly seated seal can create a similar symptom, so cleaning a filter does not establish that the whole airflow path is clear. There is no reliable universal percentage for the suction a wash will restore.
Use the machine’s warning lights and manual together with an inspection. A filter may remain discolored after cleaning; its color alone does not establish that it is blocked or worn out. Conversely, a filter that looks clean can still be damaged or seated incorrectly.
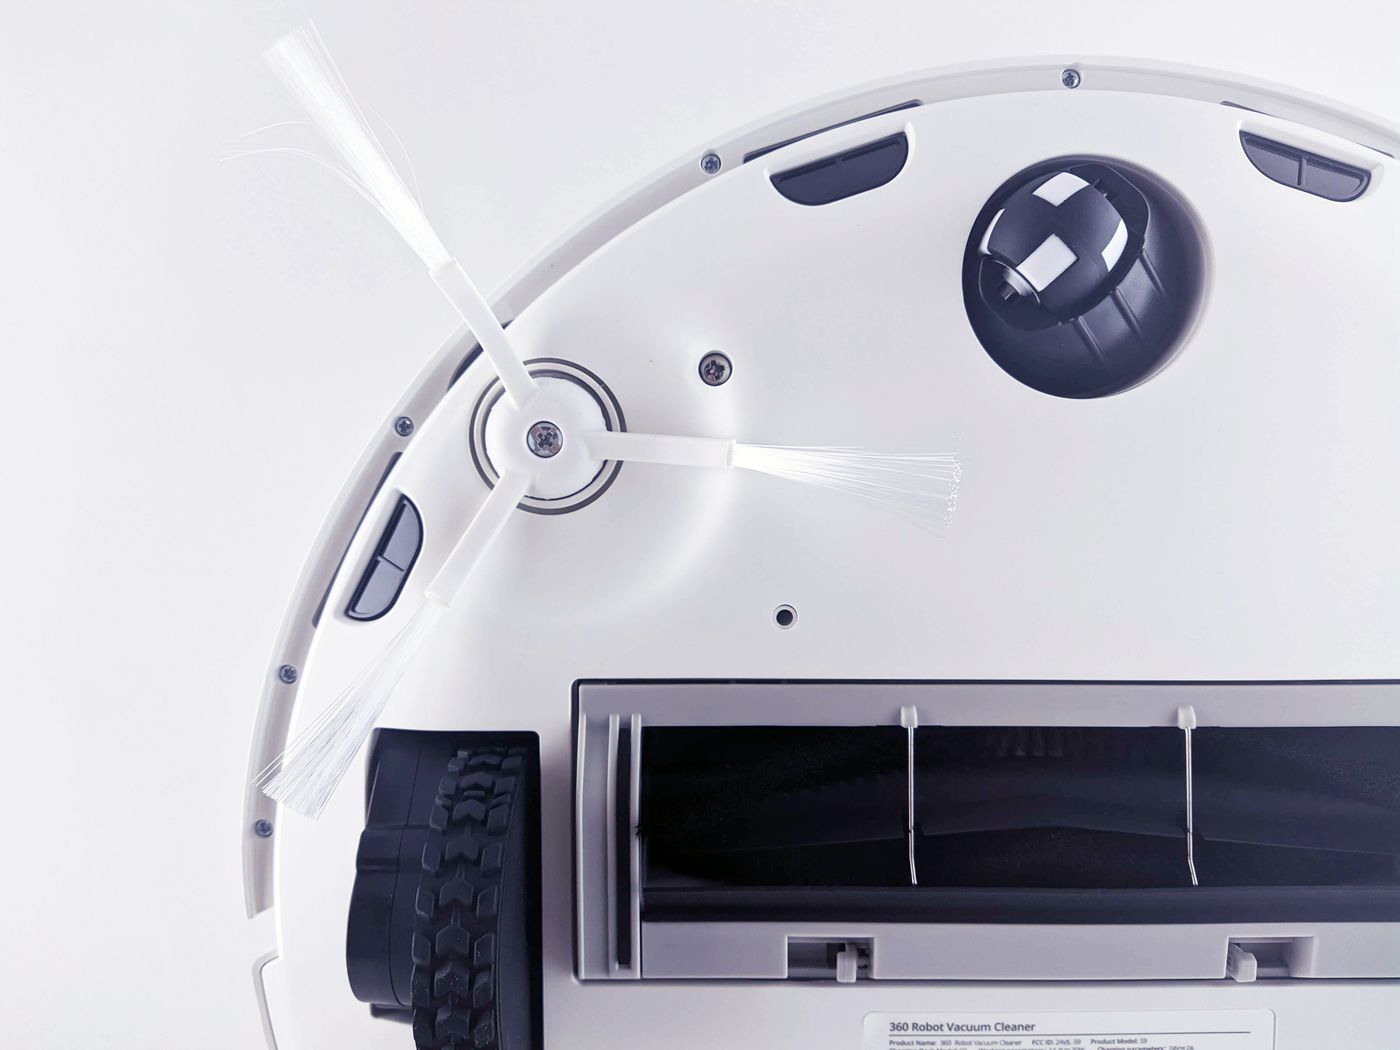
How to Identify Different Types of Vacuum Filters
| Filter description | What it tells you | What to check |
|---|---|---|
| Pre-motor | Position before the motor | Foam, felt, carbon or another medium; washability varies. |
| Post-motor or exhaust | Position after the motor | Some are washable; others require replacement. |
| Pleated cartridge | Shape or assembly style | Check the exact part; appearance is not a wash instruction. |
| HEPA | A filtration designation | It does not establish whether water is allowed. |
| Carbon or odor filter | An additional filtration function | Some model-specific pads are washable; others are not. |
| Robot bin filter | A filter fitted to a robot’s dustbin | A washable bin does not mean a washable filter. |
The distinction can exist within one vacuum. BISSELL’s CleanView/PowerClean instructions allow washing the pre-motor foam filter but prohibit water or detergent on the post-motor filter covered by that page. Follow the model’s diagram rather than treating every part removed from the dustbin area the same way. BISSELL pre- and post-motor instructions.
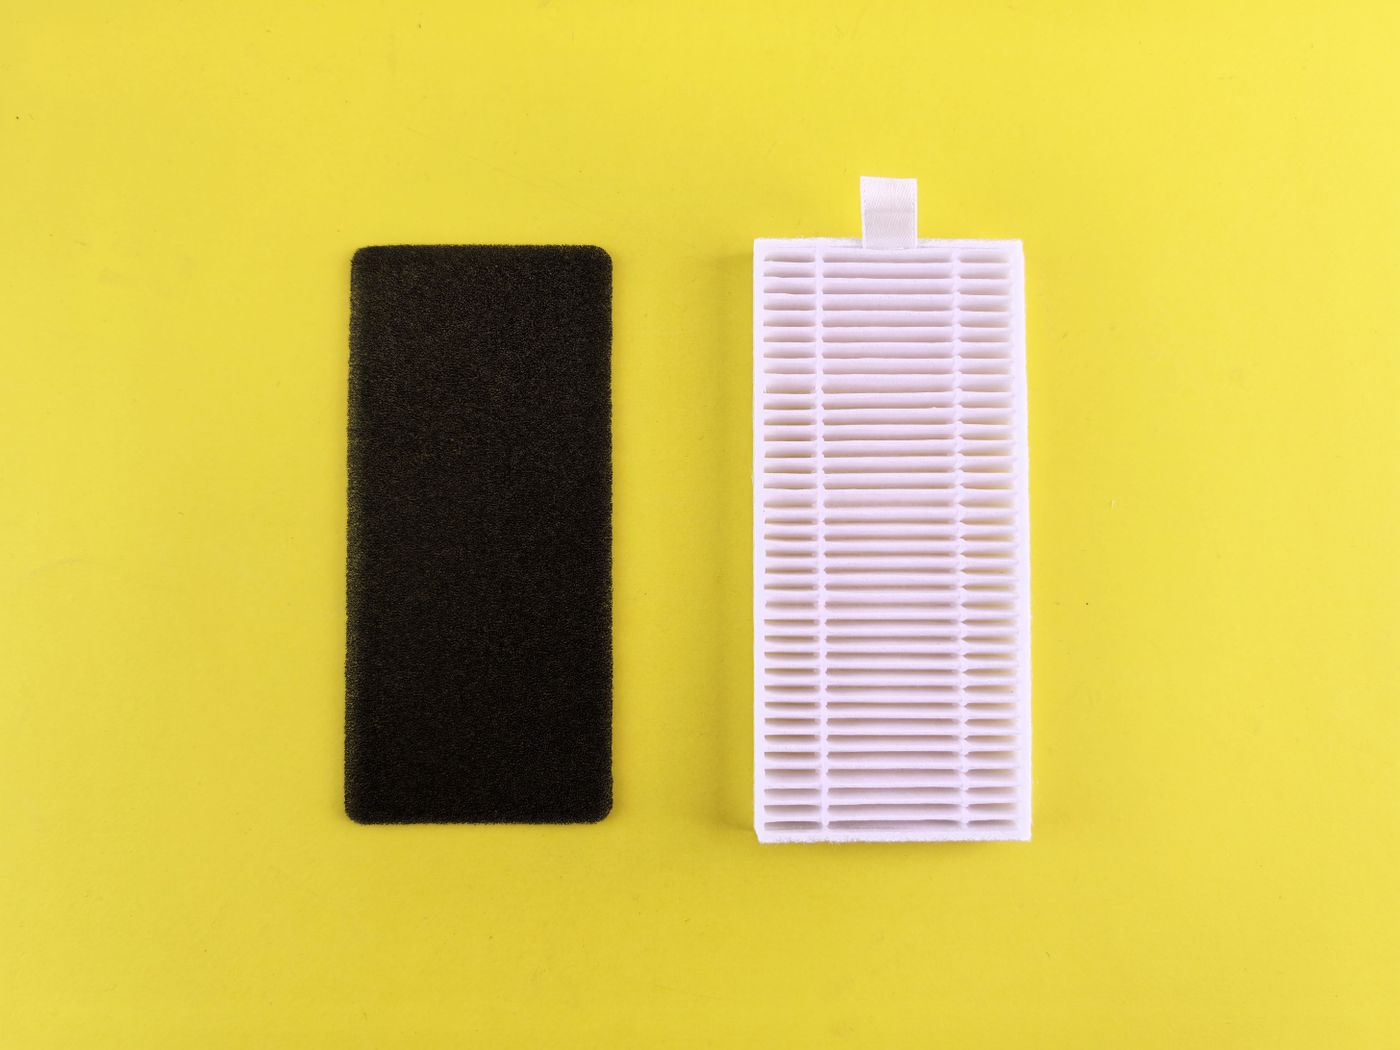
Step-by-Step Guide to Cleaning and Drying Vacuum Filters
The seven steps above supply the sequence. Use this comparison to understand why the details must come from your own model’s instructions. These are examples, not directions for every product sold under each brand.
| Manufacturer example | Verified instruction | Limit of the example |
|---|---|---|
| Dyson cordless filter-care page | Allow at least 24 hours with airflow and confirm complete dryness. | Select the actual model; cleaning details differ. |
| BISSELL CleanView/PowerLifter Swivel 2252 and listed related models | Carbon and foam filters may use warm water and mild dish soap; completely air-dry 24–48 hours. | Applies to the model list on the linked support page. |
| iRobot Bin and Filter Care | Remove the filter before washing the bin; do not wash that filter. | Check your robot’s own maintenance page. |
| Roborock S4 | Its support instructions describe washing and drying the filter before reuse. | Do not generalize to all robot filters. |
| Hoover US support | The FAQ gives 24–36 hours for the rinsable filter discussed. | Confirm the exact product and filter before using that interval. |
Sources: Dyson, BISSELL Swivel models, iRobot, Roborock S4 and Hoover US. Each source should be read with the model’s manual.
For Shark, use Shark’s support catalog to select the model and distinguish its pre-motor and exhaust-filter routines. For Miele, consult the exact filter designation and manual; the Dynamic U1 manual illustrates separate bag, motor-protection and exhaust-filter maintenance. A general instruction for a washable filter should never override a replacement-only instruction.
Keep a compatible spare only if the manufacturer permits normal replacement of that filter. It can let you use the vacuum while a washed filter dries, but it does not shorten the original filter’s drying requirement. Label the drying filter so someone else does not reinstall it early.
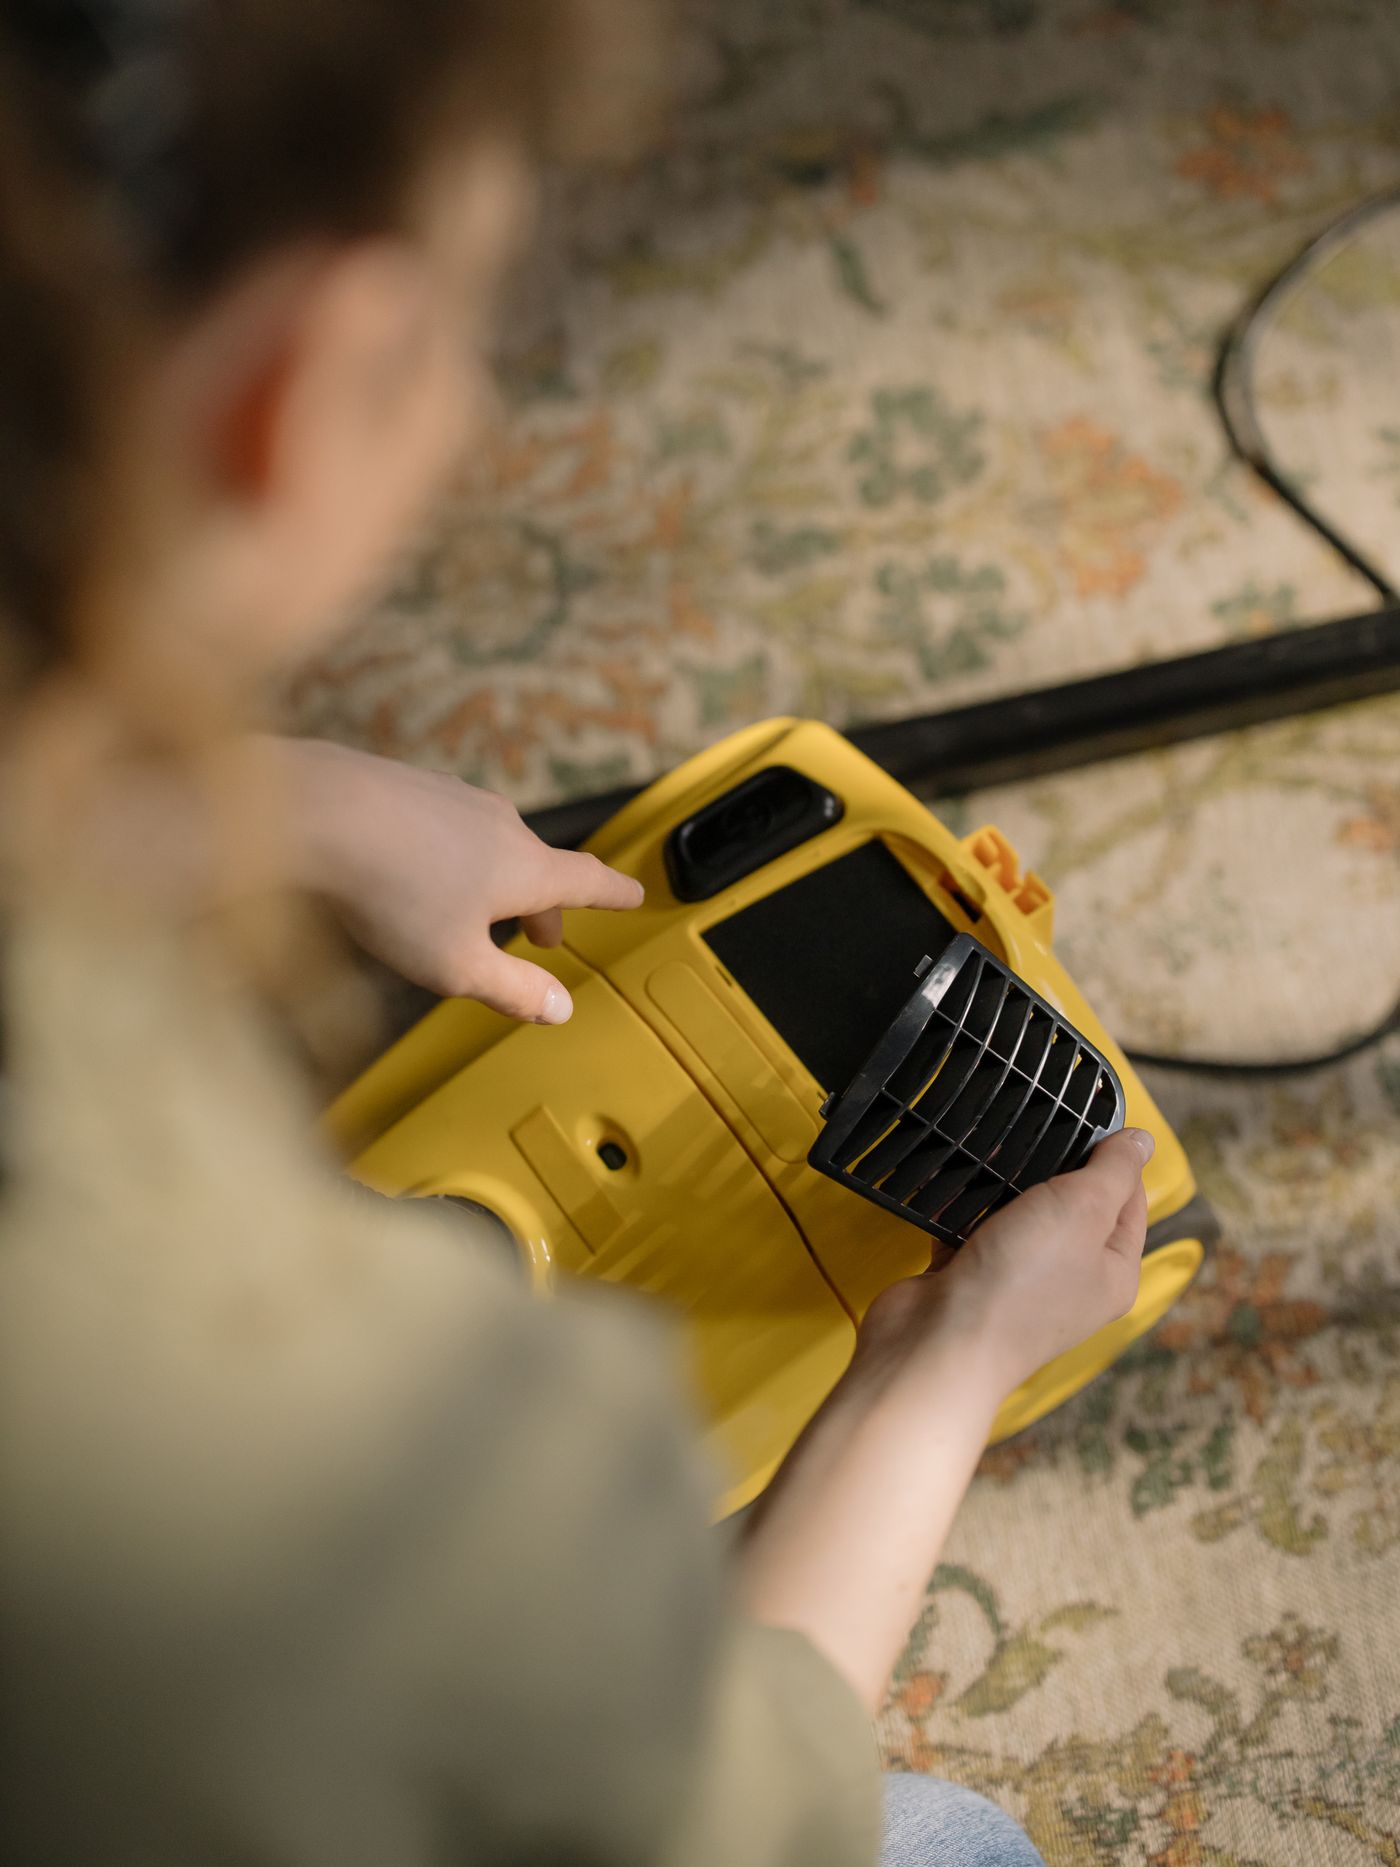
When to Replace Your Vacuum Filter Instead of Cleaning
Replace a filter when its manual calls for replacement, when it has tears or a damaged seal, or when an approved cleaning method does not restore serviceable condition. A washable filter is reusable only while it remains intact and suitable for the machine; washing does not make it last indefinitely.
Replacement intervals differ. The linked iRobot care page recommends replacement every two months; the linked BISSELL CleanView/PowerClean page specifies three to six months for its filters. Those are examples for the products covered, not a schedule for every vacuum. iRobot care; BISSELL care.
Compare replacement cost by exact part number, pack quantity, shipping and seller return terms. An inexpensive kit that omits a required seal or does not fit is not a useful saving. No national price range is quoted here because a small foam pad and a complete exhaust cartridge are different purchases.
What If It Still Doesn’t Work?
| Symptom | Next check with power disconnected |
|---|---|
| Weak pickup | Empty bin or check bag; inspect hose, wand and floorhead for obstructions. |
| Dust escaping | Check filter fit, seals, cover closure and visible damage. |
| Filter warning remains | Confirm every required filter is clean, dry and seated; follow the model’s reset or support instructions. |
| Repeated stopping or abnormal smell | Stop using the vacuum and consult its troubleshooting instructions or manufacturer support. |
If a damp filter has already been fitted, stop and disconnect power. Remove it according to the manual and contact the manufacturer if the machine ran wet, stopped unexpectedly or smells abnormal. Simply waiting for the filter to dry does not prove that other components were unaffected. BISSELL’s filter-care guidance also emphasizes model-specific care and keeping damp filters out of the machine.
Conclusion
The useful rule is to identify first and clean second. Keep washable and dry-only parts separate, follow the exact filter’s cleaning and drying instructions, and investigate the rest of the airflow path if suction remains low.
Frequently Asked Questions
How can I tell whether my filter is washable?
Check the manual and exact filter part number. The filter’s appearance, HEPA label or washable dustbin does not establish that the filter itself can be washed.
Can I add soap or vinegar?
Only use a cleaner expressly permitted for that model and filter. Some BISSELL filters allow mild dish soap; that instruction does not apply to every filter. Do not substitute vinegar or another cleaner.
Can I reinstall a filter after 24 hours?
Only if its specified minimum drying period has passed and it is completely dry. Some models specify longer, and humid conditions can extend drying time.
Can I use the vacuum while its filter is drying?
Only with a completely dry, compatible replacement installed as the manufacturer allows. Do not run the machine with a required filter missing or bypassed.
Why is suction still weak after cleaning?
With power disconnected, check the bin or bag, hose, wand, floorhead, filter position and seals. Persistent warnings or abnormal smells need the model’s troubleshooting guidance or manufacturer support.